Option 1: Zentyal Installer script
We have already covered Setting up a Server with Ubuntu in this guide, so if you already have your server setup with your Ubuntu 18.04 instance, install Zentyal automatically by running the following command and following the subsequent instructions:
curl -s download.zentyal.com/install | sudo sh
Alternatively, if you prefer to do a manual installation, just skip to next section.
Option 2: Manual Installation from ISO
The preferred way to install Zentyal on a new machine from scratch is by using the ISO. This ISO contains Zentyal and all its dependencies. The 6.2 version is based on Ubuntu Server 18.04 64bit and is available at:
http://www.zentyal.org/server/
Note: The installers are generated from time to time, so maybe some packages contained on them are outdated. If you have Internet connection during the installation, the latest version of the packages will be installed from our repositories.
Step 1: Download ISO & Prepare it for installation
In this guide we will be covering installing Zentyal from a USB Flash / Thumb Drive, therefore after downloading the image (mentioned above) we will need to burn it to burn it. For this we will need Rufus, UNetbootin (links below) or a similar tool:
Rufus: https://rufus.ie/
UNetbootin: https://unetbootin.github.io/
Rufus is highly recommended officially by Ubuntu. A tutorial on how to burn the ISO to your USB Thumb Drive is available here.
Step 2: Installation from USB Drive
Plug your prepared USB Drive into your PC and boot from it by entering the BIOS and choosing it as the default boot device, or by entering your BIOS Boot menu (often tapping F6 or F8 on your keyboard). Once done successfully you will enter the Zentyal Installation Process:
To start with, you choose the installation language, in this example English is chosen.

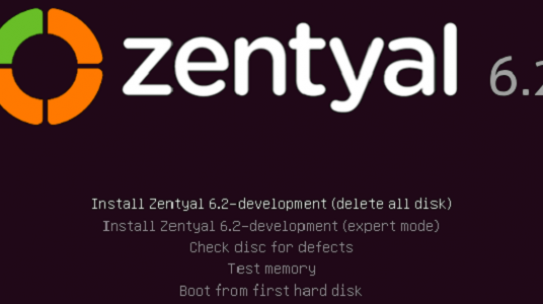
You can install Zentyal by using the default mode which deletes all disk contents and creates the partitions required by Zentyal by using LVM or you can choose the expert mode which allows customized partitioning. Most users should choose the default option unless they are installing on a server with RAID software or they want to create partitioning according to specific requirements. Using the expert mode you can also choose to perform a headless installation (without local desktop environment).

In the next step you have to choose the language for the installer interface, which will be the default language for the installed system as well.

Then you are asked for your geographical location, in this example the United States is chosen.

You can use automatic detection for setting the keyboard: a few questions are asked to ensure the model you are using is correct. Otherwise, you can select the model manually by choosing No.

Keyboard configuration 1

Keyboard configuration 2

Keyboard configuration 3
If you have multiple network adapters, the installer will ask you for your primary one, the one that will be used to access the Internet during the installation. The installer will try to auto configure it using DHCP. If you only have one interface, you will not see this step.

Now choose a name for your server: this name is important for host identification within the network. The DNS service will automatically register this name. Samba will also use this host name by default.

Next, the installer will ask you for the administrator account. This user will have administration privileges and will be used to access the Zentyal interface.

In the next step you are asked for the user password. It is important to note that the user defined earlier, can access, using the same password, both system (via SSH or local login) and the Zentyal web interface. Therefore you must be really careful to choose a secure password (more than 12 characters including letters, numbers and symbols).

Here, insert the password again to verify it.

In the next step you are asked for your time zone. It is automatically configured depending on the location chosen earlier, but you can modify it if the guessing is not correct.

The installation progress bar will now appear. You must wait for the basic system to install. This process can take approximately 20 minutes, depending on the connection and performance of the hardware.

Once installation of the base system is completed, you can eject the installation CD and restart the server.

You have completed the first iteration of the installation. After reboot, the system will automatically launch a desktop session with a web browser where you can perform the remaining steps. The first boot will take longer than then next ones, as it needs to initialize the core Zentyal modules.
Step 3: Initial Configuration
Your Zentyal system is now installed! A graphical interface in a web browser is displayed and you are able to access the administrative interface. The first boot will take an extra time while it configures core Zentyal modules. You will notice that the first time you boot, the graphical environment is automatically started in order to ease the process. Next boot sequences will require you to authenticate first.

You need to provide the username and password configured in the last steps to continue with the process. Later on, you can add any system user to the sudo group. This user will be able to access the web GUI and, of course, the local operative system as root.
When you access the web interface for the first time, you will be presented a configuration wizard.
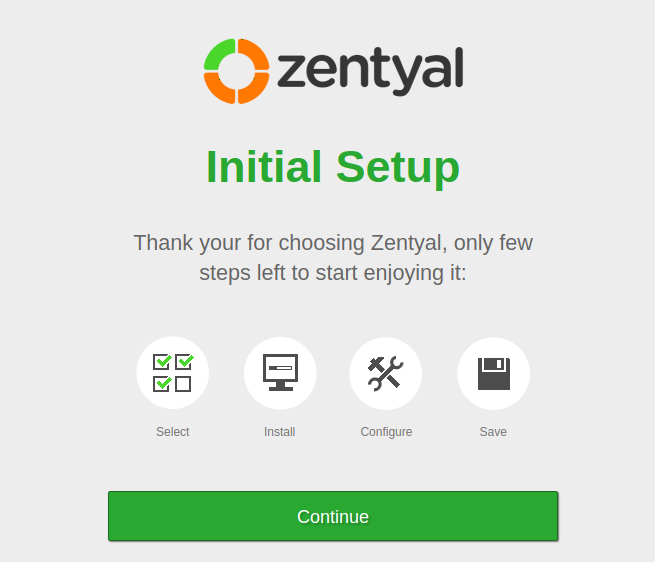
Any of the parameters that you configure using this wizard can be modified later on accessing the appropriate service or component configuration.
First of all, you will be asked about the functionality that you want to install and configure in your server. Some of these components depend on others, but Zentyal will manage those dependencies automatically. The next steps of this wizard will depend on the functionality you choose here. In any case, you can install/remove/update any of the components later on from the server’s interface.
For this example, the Domain Controller, Groupware and Firewall components will be installed.
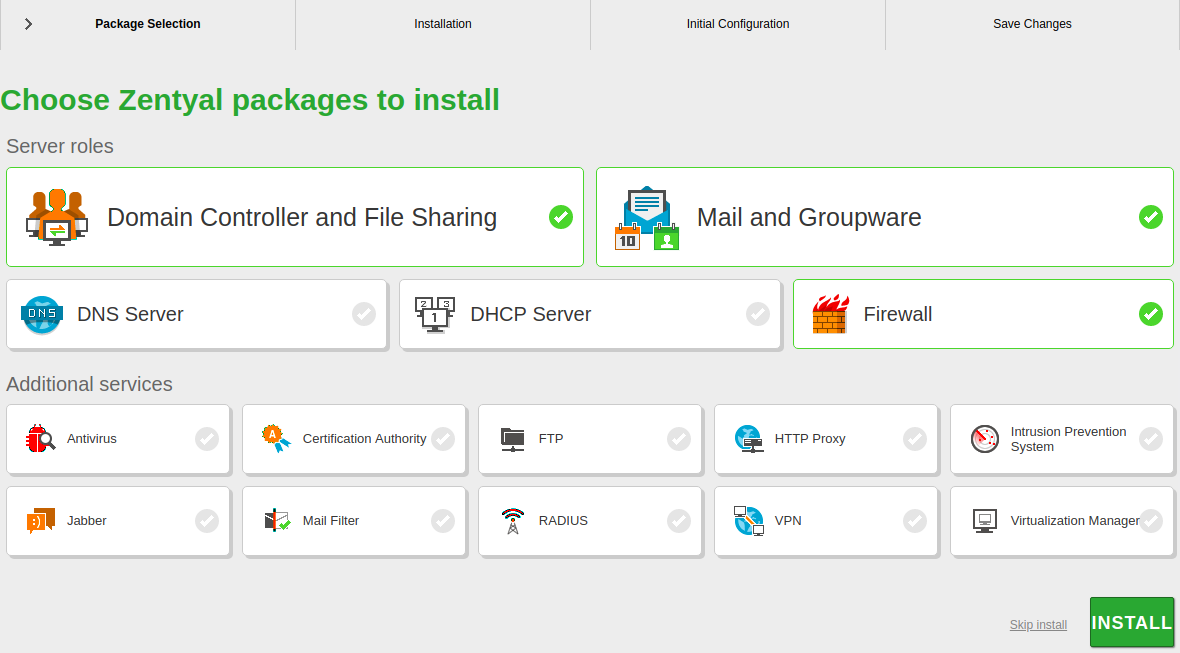
Zentyal will inform you of the dependencies that will be installed to support the components you have chosen in the previous step.

The system will start the installation process of the required modules. Progress bar shows information of the modules being installed and you are provided information regarding the commercial version.

Next, you will be asked for the basic network information. First of all, which interfaces are External (generally speaking, connected to the Internet gateways), and which ones are Internal (generally speaking, LAN interfaces). This will impact the firewall default policies, network masquerading, default listen interfaces for other modules, etc.

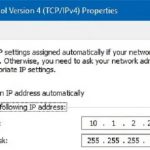
Next, you will carry out basic configuration of each one of these interfaces. External interfaces can be configured using DHCP, if you have another network device providing the leases. In any case, if you use DHCP to configure any of the Zentyal interfaces, it is recommended to use an static lease.

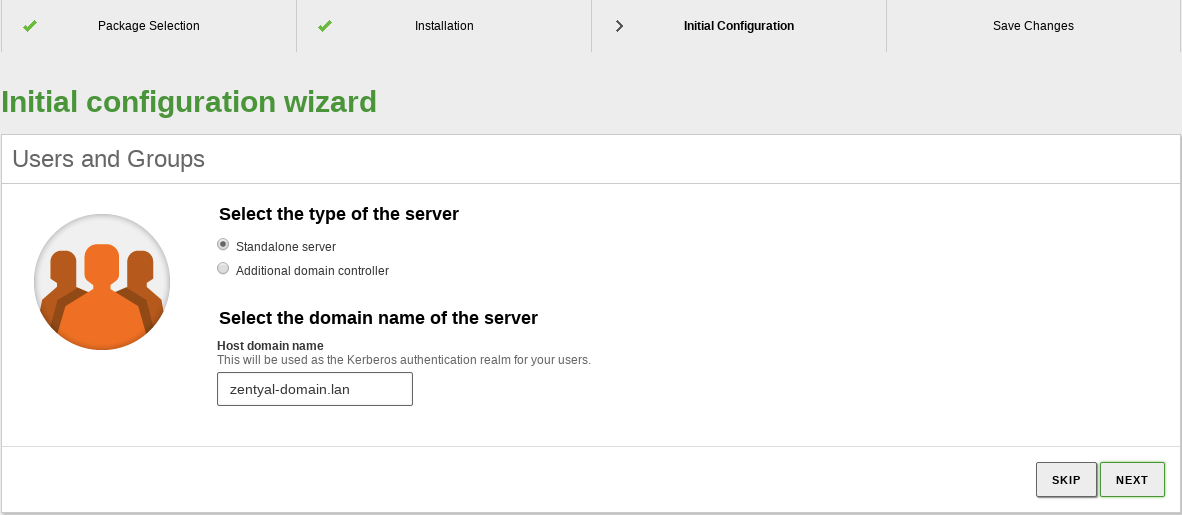
Next you need to choose the domain associated to your server and the type of server, you have these options:
- Standalone: First domain controller of the domain.
- Additional domain controller: Join an existing domain as an additional controller.
For the sake of simplicity, Standalone mode will be selected for this example. You can read more about the other directory modes in the Domain Controller and File Sharing chapter.
To configure this mode, you only need to specify the domain name for your directory entities. Be careful not to confuse this with the DNS domain, which is a highly related, but actually different context.
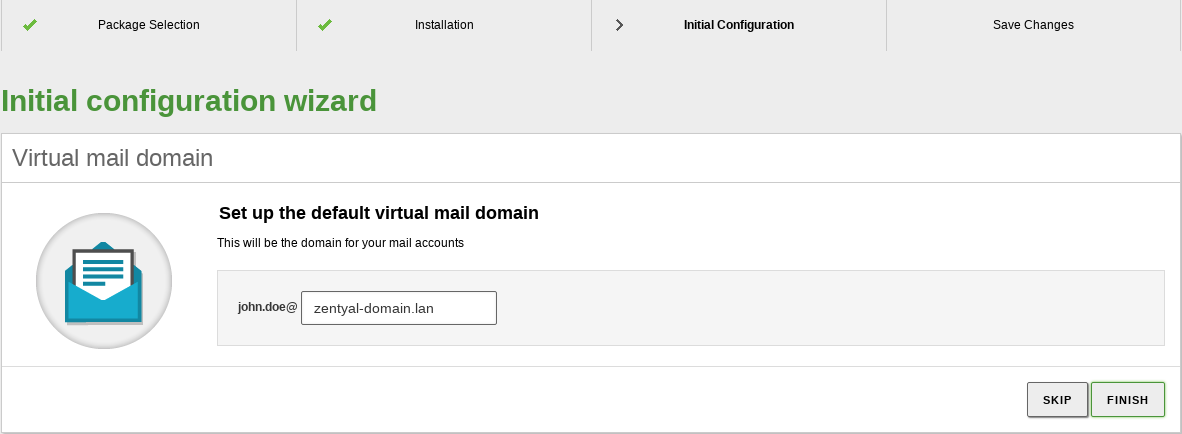
In the next step, you will choose the default virtual mail domain. By default, the domain name will be used to autocomplete this form, but that may not be your case.
Zentyal will proceed to apply the initial configuration for the installed components.
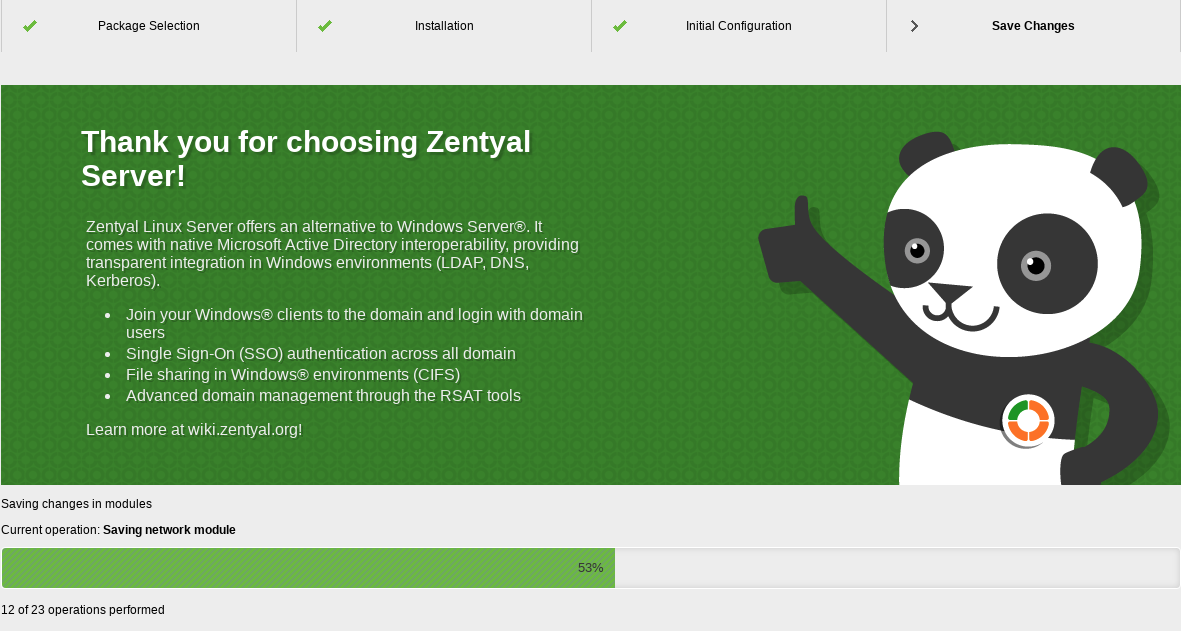
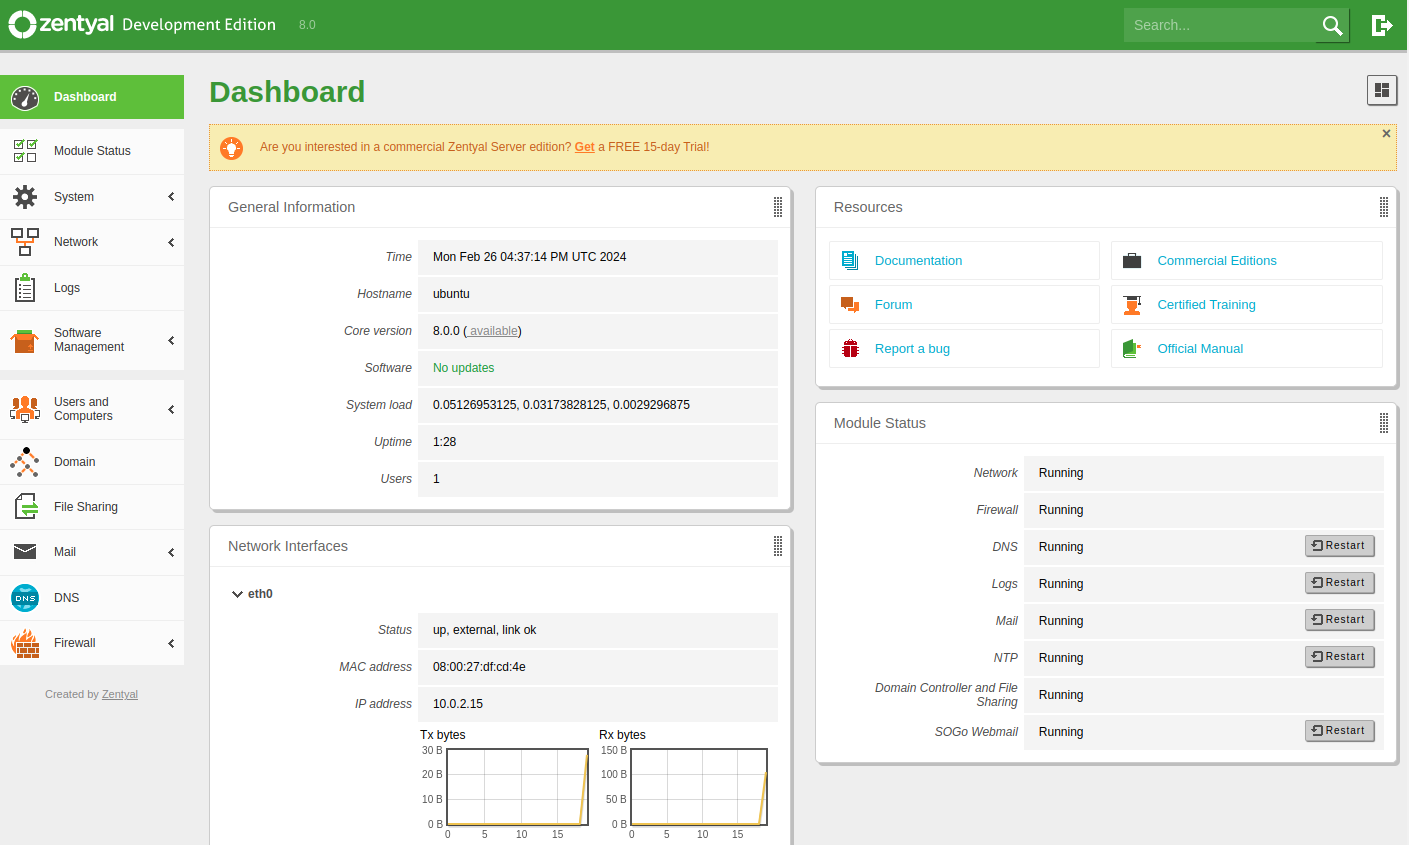
And, that’s it! Your Zentyal server is ready to be used.
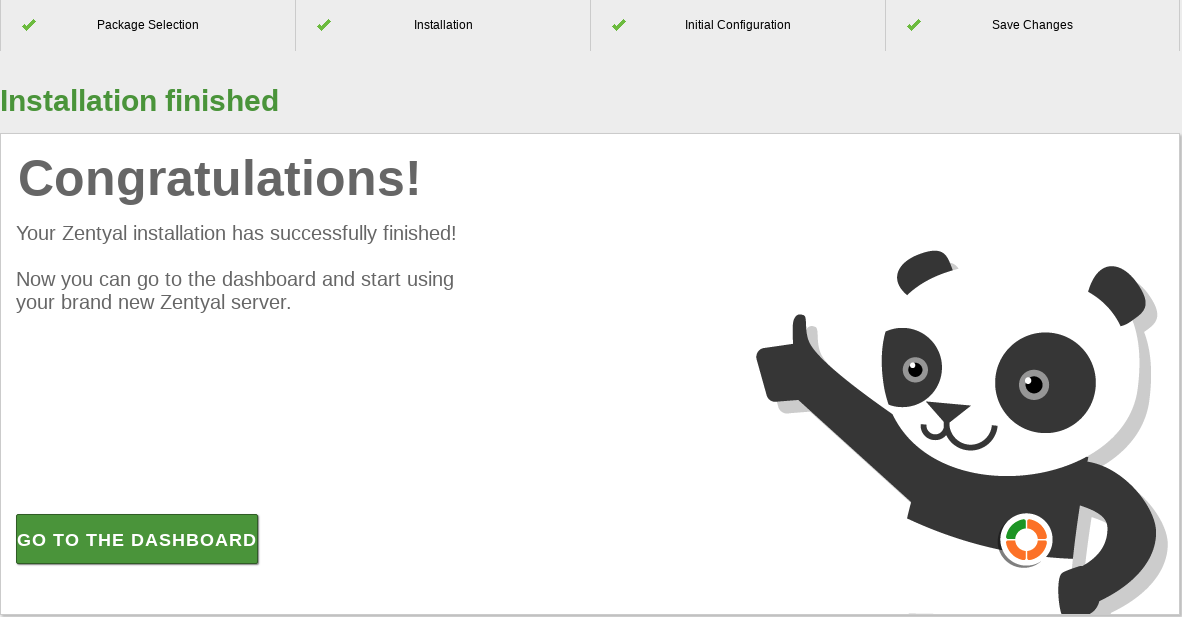
Now you can access the Dashboard and the specific configuration of each one of the components. In the next chapter, you can go through the basic concepts and behavior of the Zentyal GUI.